Tutorial on how to master the ‘digital’ watercolour technique in 4 simple steps
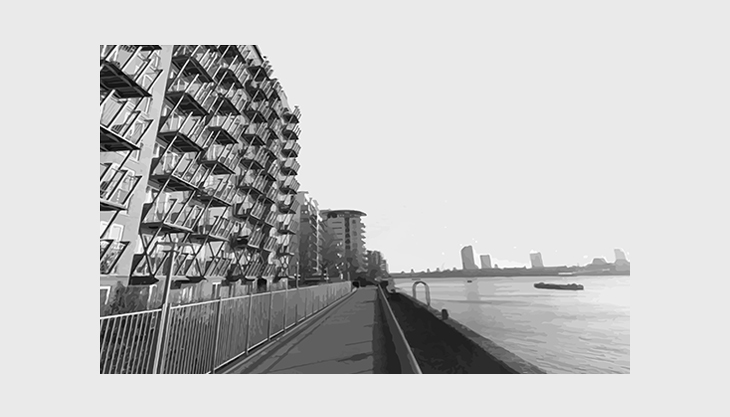
Visual representation is a strong tool when designing. An image could be worth a thousand words. Thus, it is very important to master this skill. There is a plethora of graphic techniques and a great variety of softwares to choose from. In this blog post, I will present the “watercolour” technique, a particular one, that does not require the use of any 3D software, just Photoshop. I will explain the process step by step, whilst drawing a cute neighbourhood in Canary Wharf with you.
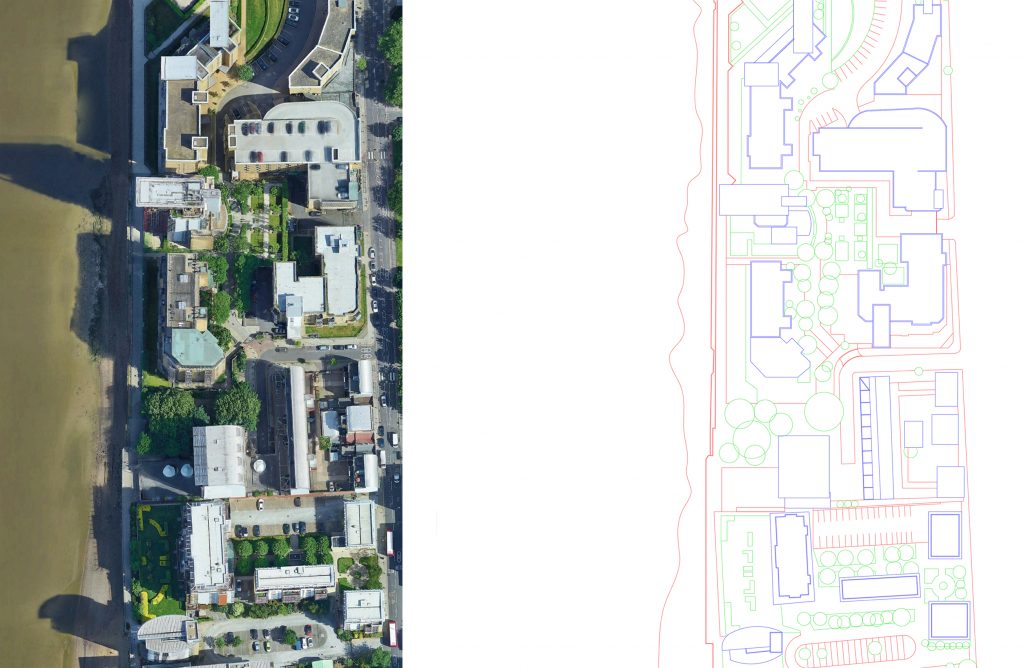
STEP 1 – Basemap
Set up your basemap in Photoshop. If you are exporting from Autocad, and it is a complicated design with many layers, it might be worth considering colour coding them by material. In the example shown below, I have created different layers for the buildings (blue), green features (green), and roads, parking spaces and other paths (red). That way, when I import it in Photoshop, I can easily differentiate the layers.
Tips for step 1
- Make sure you adjust the thickness of the lines in Autocad so that they are not too thick. Thinner lines keep your drawing fresh and neat, especially if you have to deal with a detailed drawing like the above.
STEP 2 – Textures
This step is all about the textures. It is an important one, as this will determine the style of your drawing. Choose all your samples, put them on the canvas and do a sense check to make sure they blend nicely with each other. Worth spending some time here to get it right – it will require less editing after.
Tips for step 2
- To achieve the watercolour result, google the colour of your choice combined with the word “texture”. That will give you some watercolour-style options to choose from. For example, I googled “green texture” to search for materials to illustrate grass, “grey texture” for roads, “blue texture” for water features and so on.
- Always choose two images of different shade for each texture. This will help you advance the “drawing” even more by creating a more realistic illustration with lighter and darker shades.
- Avoid merging layers in Photoshop until you are done with the drawing. This is a real painting process so you never know whether or not you will need any of them separated later on. The only layers you need to merge are each of the textures, since you need them grouped together to then edit them or apply the stamp tool;
- Grouping and naming layers is important during the whole process.
STEP 3 – Painting time
This is the point where each texture will be edited. First, you edit the texture in terms of brightness, contrast etc. and then you start creating copies to cover the area where this texture will be applied to. By using the ‘magic tool’, you can start cropping the layers and giving them shape. An example of one of the textures is illustrated below. The selected raw texture is indicated at the left top corner and the edited one is shown at the left drawing. Later, it was cropped and covered specific surfaces, as shown at the right hand drawing.
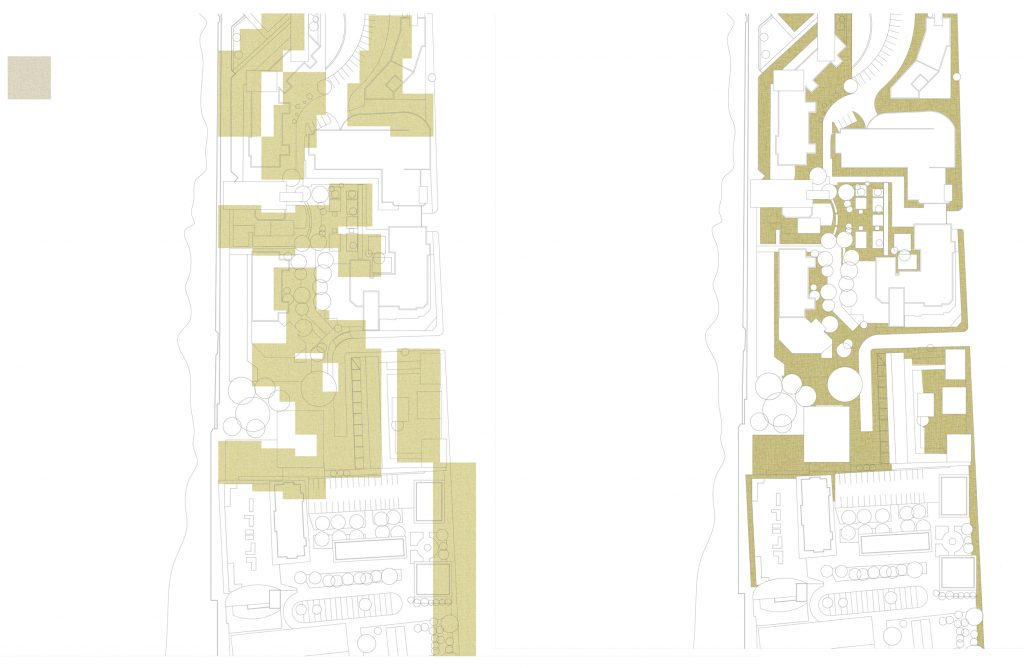
However, there might be cases where more editing than just placing the texture is required. Take the green elements for example, where I have used different shades to add some depth in the drawing. The stamp and rubber tools will come handy here.
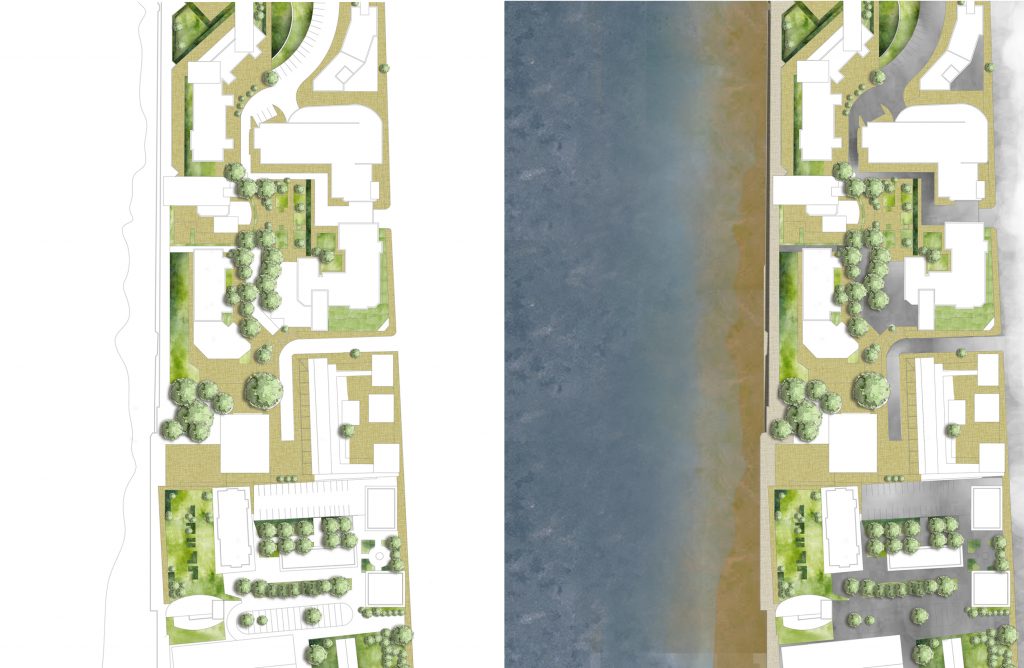
As a final step, adding shades to objects is a nice detail. You can either do this manually, which is what I did for the green spaces, or you could use the automated command in Photoshop.
Also, adding the google earth image, in a more transparent version, could be a nice touch as it elevates the entire drawing and provides some context.
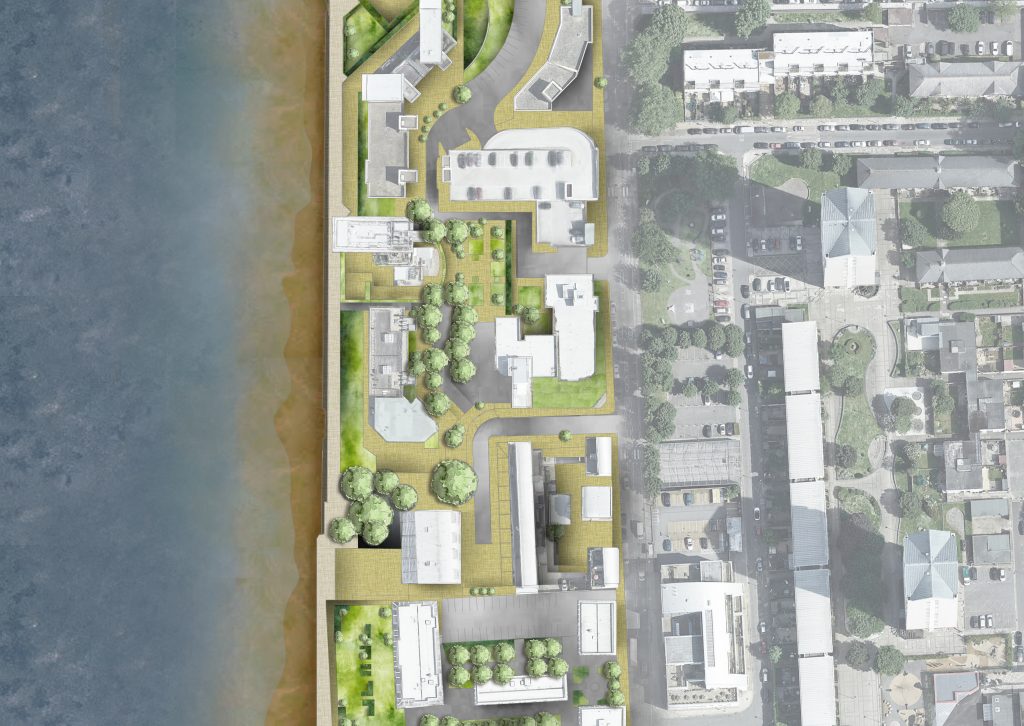
It goes without saying that this is not a quick and easy technique. It is actually quite time consuming until you master it. But, as everything in life, practice is the key. The main reason why I find this technique still applicable in modern times is because it gives a more personal touch compared to standardised renders. It is almost the same as drawing by hand.
You can find a copy of this basemap below.
Image reference: screenshot of this link.